This is the desert version of some grass I made for an unreleased game called Drosera. It was made using Unity’s shader graph, specifically for HDRP. This is a close-up shot of it to show off some detail, in the game, you would see it from this camera angle.

There’s also another version of the grass that we use in our jungle environments.

The implementation for this effect is pretty simple. I made a low-poly mesh for the grass, duplicated it a lot, and made a vertex-displacement shader to make it look like it’s swaying in the wind.
Implementation Details
The shader that creates this effect does two things. It displaces the vertices of the grass mesh in the X and Z directions, and it colors the grass with a gradient that can be set by the artist using it. First, let’s take a look at the vertex displacement.

This looks a little complicated but it’s simpler than it looks. Basically, we’re taking the vertices of the mesh in world space, displacing them according to a gradient noise texture, and adding that displacement back to the original coordinates. Artists have control over how the noise texture moves (Wind Movement), how dense the wind is, and how strong the wind is. You might notice that Wind Movement, Wind Density, and Wind Strength are all split before being used as inputs. That’s because those properties contain the information for both X and Z motion. The channels used here correspond to the inputs for X motion, whereas the other half of the channels are used for Z motion. The Z motion graph is basically the same as the X motion graph, except like I said it uses the other channels. Now that we know how it moves, let’s look at how it’s being colored.

So how this works is there are two color properties that control the two colors for the gradient. The color of the mesh is set based on the y-coordinate of its UVs, and with the UVs for the mesh I used, this makes a smooth gradient from the shadow color to the highlight color with the shadow on the bottom of the mesh. I also include a brightness multiplier here because the colors were a little too dim without it. We can also see here that the same lerping technique is used to make it so that the vertex displacement affects the mesh more at the top of the grass, and less at the bottom. All together, the graph looks like this:

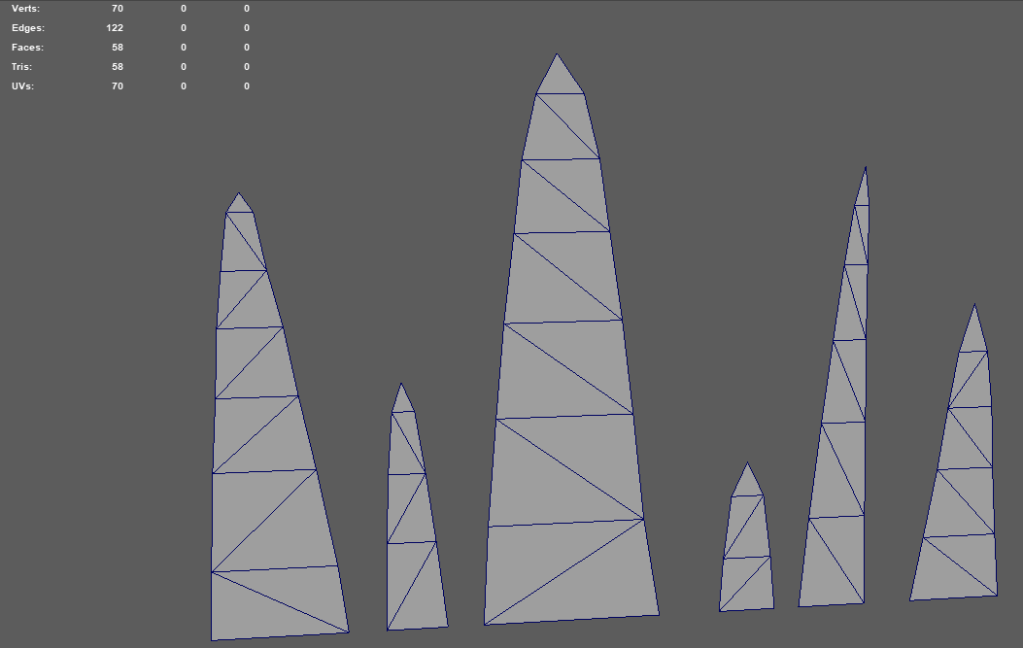
Lastly, let’s take a look at the model. It’s only 58 tris, but each patch of grass uses two of them, so each patch of grass uses 116 tris. With how many patches you need for the grass to look good this would quickly add up to 1000s of polygons in game, but since this project was done using Unity’s High Definition Render Pipeline the performance hit was negligible.